
Button Mapping using the In-World Editor
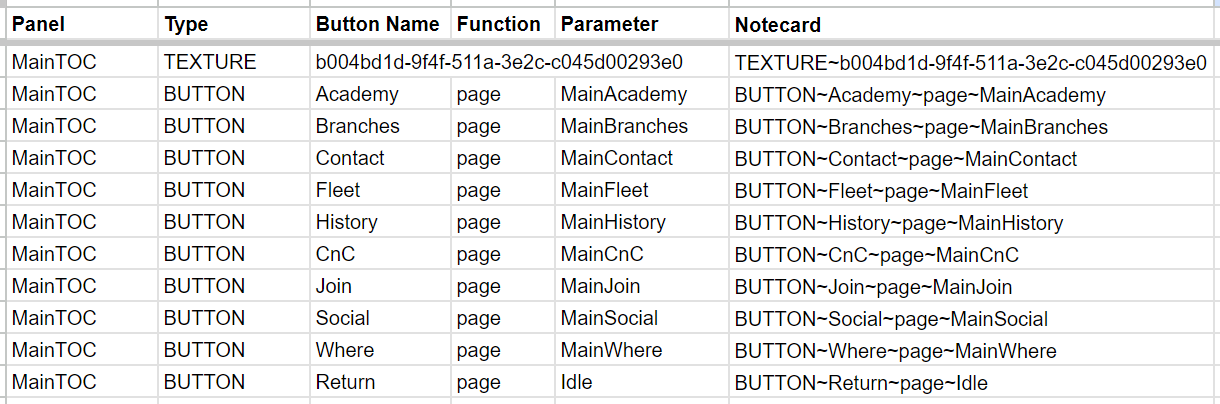
We created some notecard lines that look like this in the Board Design process, which identifies the names of touchable areas and what they do. Such as those shown for the "Main - Table of Contents" (MainTOC):
Mapping Buttons onto the Texture
After the graphics designer has created an image for the panel and visually defined locations for all the buttons, we need to map where each button is on the texture. We use an in-world editor.
In the image below, there are three parts, left to right:
The arrow shows that the texture's UUID has been copied into the notecard.
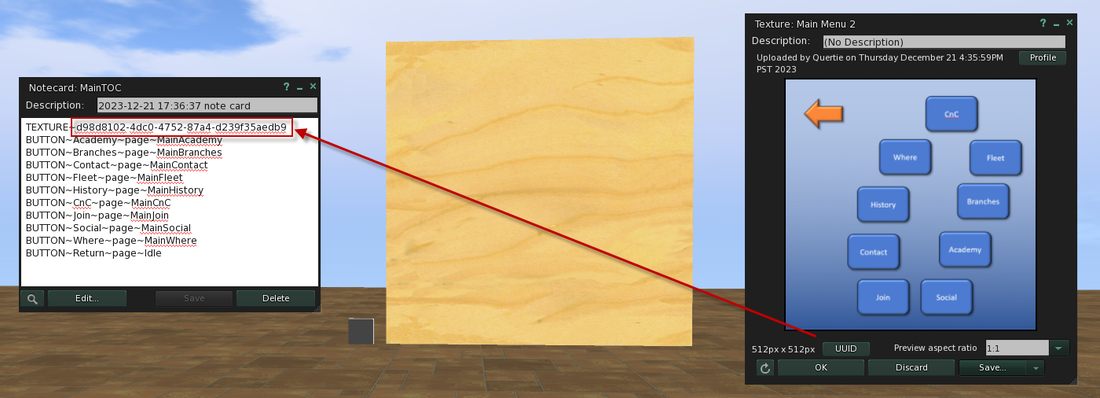
In the image below, there are three parts, left to right:
- Notecard - This is the content from above, with one notable change: the UUID has been changed to the graphics for the MainTOC.
- In-World Editor - It is shown with a plywood texture and a button in the lower left.
- Texture - A picture of the texture we created for the main menu. Yes! A real graphic designer will do a better job!
The arrow shows that the texture's UUID has been copied into the notecard.
Set Notecard
|
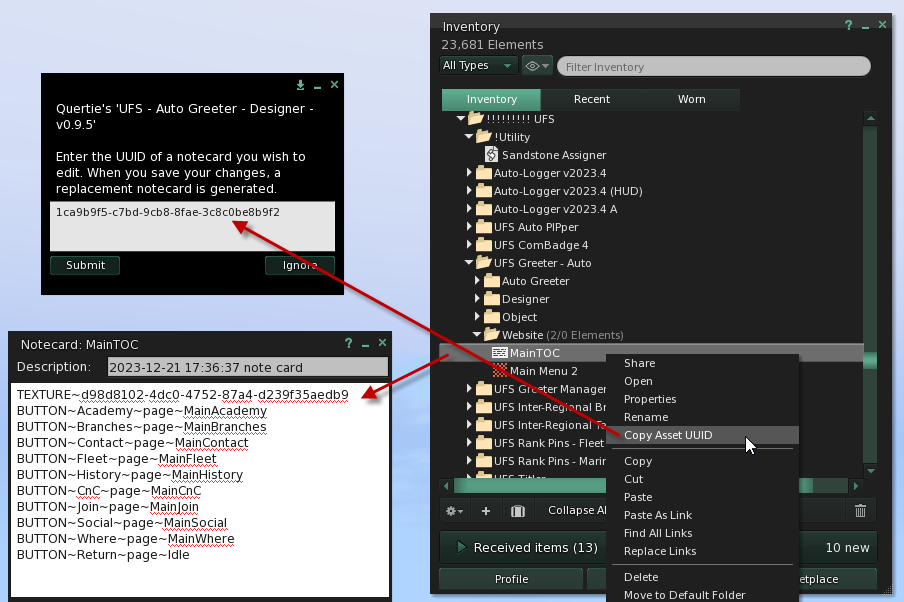
This button reads the notecard specification with the texture and buttons. When setting the notecard, we provide the UUID of the notecard, which will read in the notecard, set the texture and read all the buttons.
|
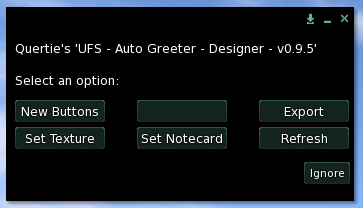
Auto Greeter Designer - Main Menu
|
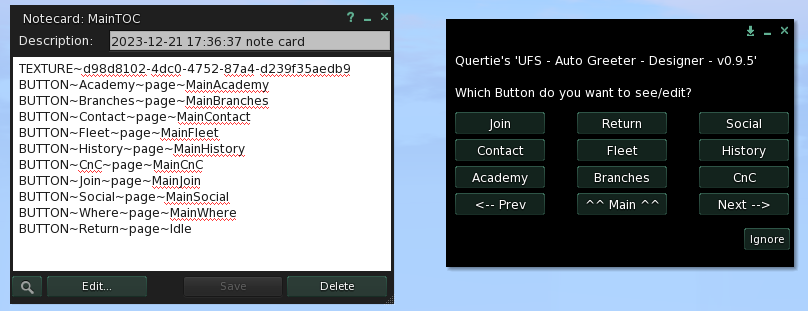
Auto Greeter Designer - Showing the button menu
|
The button menu shows that the notecard correctly reads the button names.
|
Mapping to a Specific Button
|
Suppose we select the CnC button. We get the menu to the right. These are what the buttons do:
|
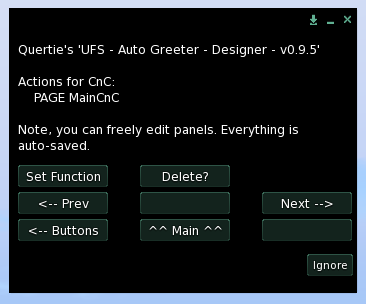
Options for a specific button
|
The dialog also mentions that you can freely edit panels. When you do everything is auto saved. Here I am mapping where the CnC button is. Many options for buttons shapes are possible with this system.
Exporting
You can export the panel definition after specifying which parts of the 24x24 grid make up the button. You'll notice an extra parameter has been created, which is how buttons are mapped.

When the mapping is complete, copy the exported lines into the notecard.
Important Feature: The Editor can read button definitions. Therefore, it's possible to quickly edit a map by re-reading the notecard with an existing map. Although, admittedly, it takes minutes to map a dozen buttons.
Important Feature: The Editor can read button definitions. Therefore, it's possible to quickly edit a map by re-reading the notecard with an existing map. Although, admittedly, it takes minutes to map a dozen buttons.
Next Steps ...
After creating the notecards, you can initialize the Display Board Viewer with drag-and-drop.